

Subscribe to continue reading
Subscribe to get access to the rest of this post and other subscriber-only content.


Subscribe to get access to the rest of this post and other subscriber-only content.

Homemade pizza in less than 2 hours from start to finish? Absolutely. This dough recipe is fool-proof and results in the most delicious, fluffy, soft, and reminiscent of the old Pizza Hut pizza days vibe.
Make pizza night a family affair and enjoy your home-baked cast iron pizza (it can be cooked on a pizza stone or in any other oven-proof dish if you don’t have a cast iron pan), while saving you some money. Plus, the intoxicating smell of pizza baking in your oven is just as good as a freshly baked loaf of bread!
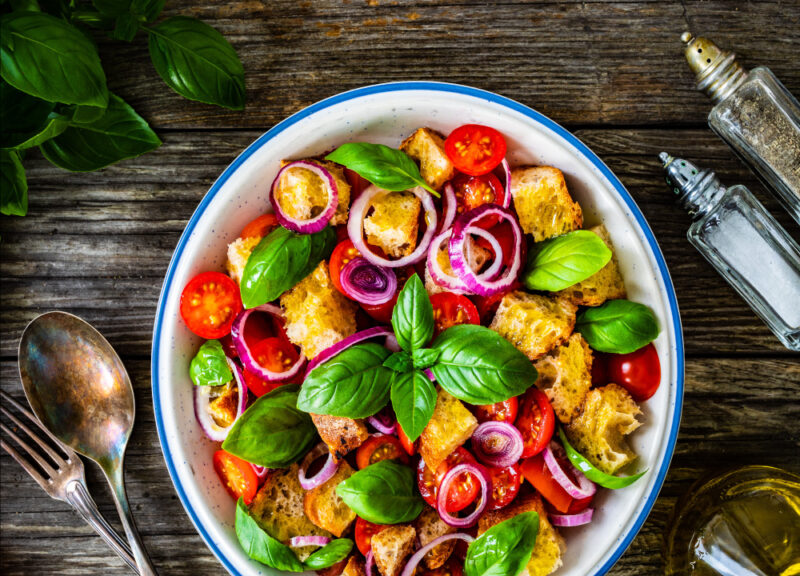
Panzanella or panmolle is a Tuscan and Umbrian bread salad popular in the summer. Yes, a bread salad. Bread is the star and the other ingredients, are the supporting actors here. Don’t let that fool you though. This bread salad is going to become a family favorite after the first bite!
This bread salad is a perfect hot summer night dish. Eat it alone, or pair it with a nice grilled fish steak, chicken breast, pork chop, or steak. For an added twist, add some cucumbers, anchovies, fresh mozzarella, olives, roasted vegetables, tofu, or capers.
Extremely versatile and adaptable to whatever time of year it is, whatever you have on hand or feel like eating. There really is something to be said about such a super simple salad.

In a few short minutes, you can elevate the flavor and intensity of your whole spices before grinding them fresh and adding them to your dish.
Yes, ground spices are convenient, but the flavor of said spice quickly diminishes over time, leaving you with a very mild flavor that doesn’t really do anything for your dish. If anything, it will have you wondering why your dish just doesn’t taste the same or is lacking in flavor – even though you made this dish the same as every time previous.
Over time Oxidization occurs (think of when you slice an apple and before you get to eat it it’s turning brown – that’s Oxidization) and the once flavorful spice you loved has wilted into nothingness.
If you’re like most people and have jars, tins, bags, or containers of ground spices that have been in your cupboard since, well forever, do yourself a favor and toss them. One, there is more than likely zero flavor left in that spice, and two, it’s just taking up room in your spice cupboard.
Most of us tend to have a small selection of herbs and spices that we use pretty frequently, including pepper. For the spices that you tend to graduate to on the regular, look for them as whole spices. Not only will you get more bang for your buck in the long run, but the flavor that comes from these whole, freshly ground spices honestly does not compare to the preground stuff. It really is an apples-to-oranges difference. For the spices and herbs you use on rare occasions, either look for bulk buying options and only purchase a small amount at a time, or look for an alternative spice in your collection that has similar flavor profiles. For example, Star Anise has a beautiful black licorice flavor. If you can’t find Star Anise, swap it out for Fennel. If you can’t find Fennel, look for fresh Tarragon. All 3 have a similar flavor profile that can be used interchangeably in a dish.
To take your whole spices to a whole (pun intended) new level of flavor and added excitement to your dish, toast them in a pan over medium heat for a few minutes. Follow the instructions below to toast your whole spices.
Instructions:

All spices will benefit from toasting them before grinding, including peppercorns!

Dry Brine.
Let us talk about the magic of this amazing and simple process of dry brine for a second 
Here’s a quick rundown as to what it is and why you should at least try it once 
What exactly is Dry Brining and what does it do?
1) Well, in the simplest form, the excess moisture in the meat is drawn out by the salt and then that moisture is then reabsorbed into the tissues of the meat. This then allows all the delicious flavor of the meat to infuse throughout the meat instead of it sitting on top.
2) If you’re not cooking the creme de la creme cuts of meats such as Wagyu or Kobe beef for example, dry brining will help tenderize your meat – so it’s perfect for those more affordable cuts of any type of meat – beef, chicken, pork, etc. The process works the proteins and helps them relax and break down. The end result is a much more tender and moist piece of meat instead of a tough, chewy, and dried-out piece.
3) Cut your cooking time down. Seriously, don’t walk away. Set a timer and make sure you watch your meat. The cooking time is cut down quite drastically depending on the cut and thickness.
4) The crust 
How do you dry brine?
1) Pat the cut of meat dry and make sure it’s fully thawed.
2) Apply salt everywhere – literally. Don’t be shy, especially if you’ve got a particularly thick cut of meat. The thicker the meat, the more salt it can take. The thinner, the less you’ll use.
3) Place the salted meat on a cooling wire rack and then place that rack on a baking tray with rimmed sides.
4) Place the tray and rack in the fridge, uncovered for up to 24 hours, but no less than 1 hour. The longer it dry brines, the better the end results.
5) When you’re ready to BBQ, pull the meat out of the fridge at least 30 minutes prior. Allow it to come up to room temperature. There is no need to add any more salt. You can add a rub or other seasonings, but ideally, have them be salt-free.
6) If you’re cooking a cut of meat with a beautiful fat cap on it, say a nice rib-eye, because the cooking time is reduced, sear the fat end first then proceed with the rest of the cook.
What kind of salt do you use?
Do NOT use your everyday, run-of-the-mill table salt such as Sifto. First, there is sugar in regular table salt and secondly, the crystal shapes of regular table salt are not ideal due to their small size.
Kosher salt is the best. The crystals of Kosher salt are much larger and shaped differently, therefore they are able to draw out more moisture.
We sell the number 1 chef’s choice when it comes to Kosher Salt in-store – Diamond Crystal Pure and Natural Kosher Salt.
1 of our favorite YouTube channels that explains dry brining perfectly is https://www.youtube.com/@GugaFoods Go check him out.

Works with any fruit!
Makes approximately 1 cup

There is just something special about the smell of freshly baked, homemade, bread. The way the aromas fill the air and invoke thoughts of slicing into the warm, soft, delicious loaf. Slathering it with butter and taking that first bite. It’s just heaven.
This recipe comes together rather quickly. So if you’ve got a craving for some soft, delicious, fresh homemade bread, give this a try. It’s a pretty hands-off recipe with most of the time left to the rise-and-bake portion. So, what are you waiting for?! Just make sure you read the recipe and instructions all the way through before starting and have all your ingredients measured out and ready to go – mise en place.
INGREDIENTS
2 tbsp sugar or honey
1 tbsp instant yeast *
2 1/4 tsp salt **
2 1/4 c 110-115 degree warm water
5 1/2 – 6 c of AP or bread flour ***
2 tbsp The Olive Junction Tuscan Herb Olive oil
* Make sure your yeast is active – if it doesn’t “bloom” within a few minutes of placing it in some warm water, it’s no good.
**This is a guide on how much salt to use. Different salts, table vs kosher for example, will provide you with varying amounts per tsp as the crystal structure is different with them.
***The temperature, humidity levels, elevation level, etc will have varying degrees on the amount of flour you will need to use. Start with the minimum, and based on the look and feel of your dough determine if you need more. You want your dough to every so sticky/tacky to the touch, supple, soft, and doesn’t leave much residue on your fingers.
DIRECTIONS
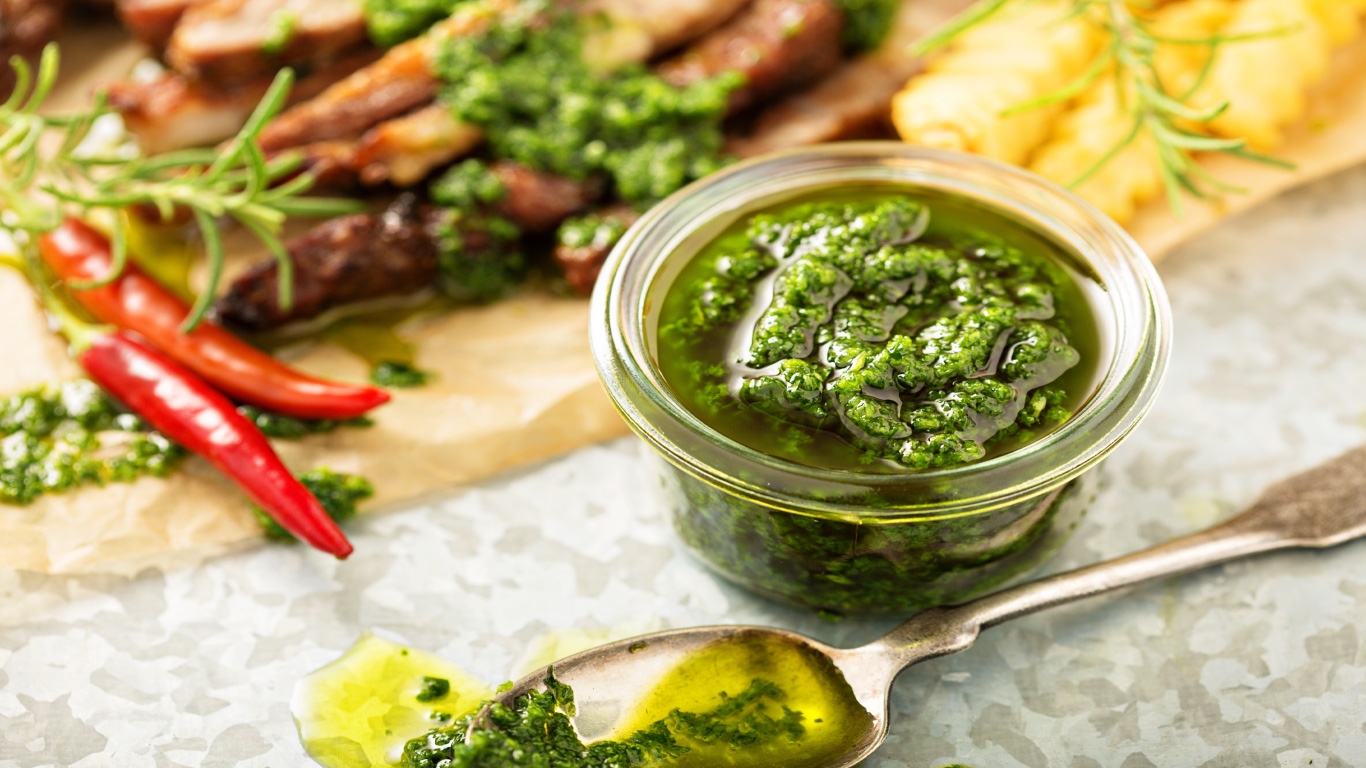
If you haven’t tried this incredibly easy, yet super versatile and delicious sauce – what are you waiting for?! With a handful of fresh ingredients, a food processor that does all the work for you, and a flavor profile that takes your dishes to a whole new level, you’ll be making this on the regular.
And, it’s healthy for you too. It’s keto-friendly, gluten-free, paleo, whole 30, dairy free, full of antioxidants, vitamins A & C, calcium, iron, heart-healthy garlic, and the good fats (monounsaturated) found in olive oil, along with the polyphenols, anti-inflammatory benefits, and so much more.
Ingredients
1 c roughly chopped parsley
8 cloves of roughly chopped garlic – or more if you love garlic, just not less
2 shallots roughly chopped
2 tsp of dried oregano
2 small red chili peppers roughly chopped (deseed if you don’t want too much to heat)* see tip below
6 tbsp The Olive Junction Red Wine Vinegar
2 tsp salt
1 tsp freshly ground black pepper
1 1/3 c The Olive Junction Arbequina Extra Virgin Olive oil
Directions
Add everything except the olive oil to your food processor or blender. Pulse until all ingredients are finely minced. You don’t want to take this so far that it turns into a paste, which will happen if you over-process it.
Transfer minced ingredients to a bowl and add our Arbequina Extra Virgin Olive oil. Mix together gently to combine all ingredients.
Let sit, covered, for at least 30 mins so the ingredients have time to mingle and get to know one another.
Pairs very well with our Garlic Flank Steak recipe
*Chili deseeding tip: place chili in between your palms and apply a small amount of pressure, roll the chili gently between them for a few seconds to release the seeds from the pith. Remember to either wear gloves or wash your hands very well after cutting and touching chilis.
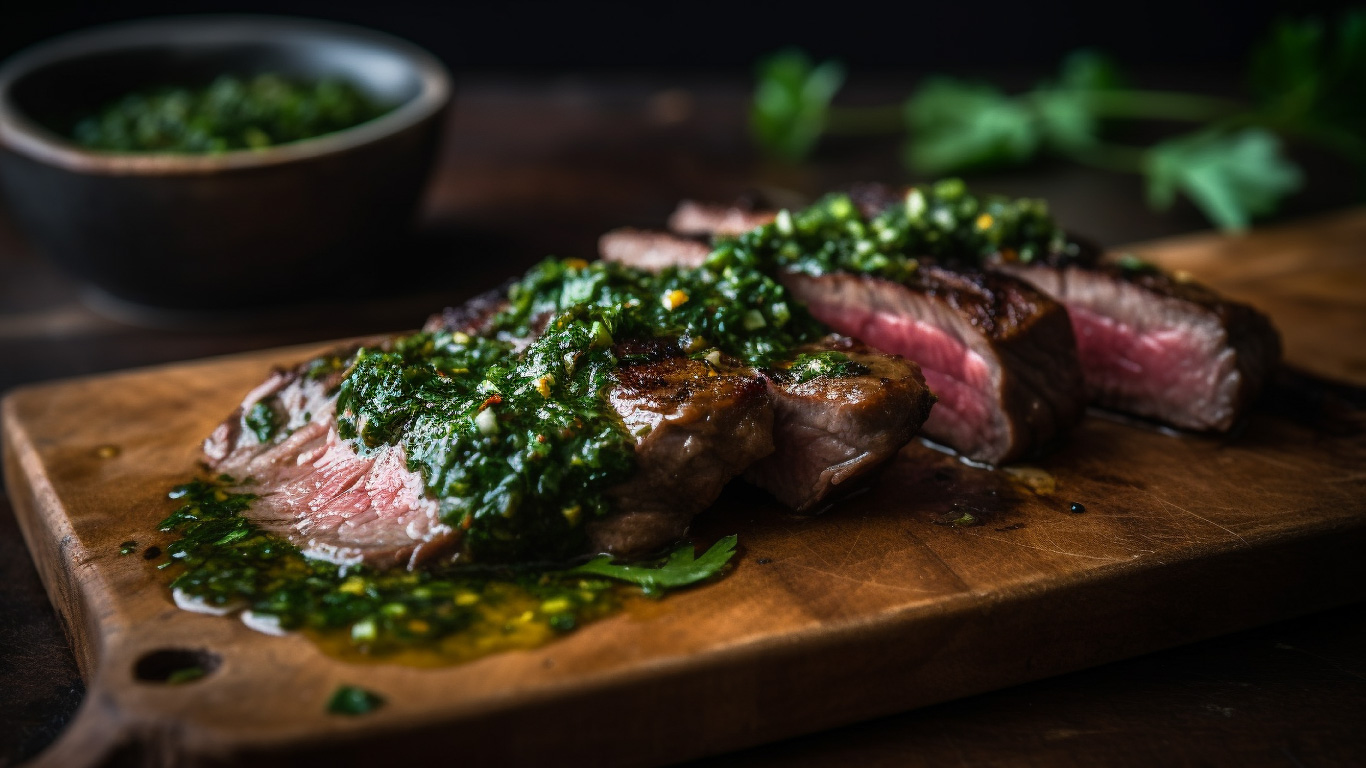
It’s grilling season! What isn’t better than a perfectly grilled steak? One that melts in your mouth, is full of flavor, and has you coming back for more? Sorry vegans, vegetarians, and non-meat eaters.
If you’re short on time, Flank Steak should be your go-to. Easy to prep, rich, delicious, juicy, quick to cook, and versatile. Like 5-6 minutes quick! Tacos, fajitas, salad, mashed or baked potatoes, grilled or roasted vegetables, soups – the options are endless!
Steak (red meat in general) contains key nutrients. Zinc, vitamin B12, and complete protein (all the essential amino acids we humans need). Of course, red meat should be eaten in moderation. It can have some adverse effects if eaten in high levels and quantities.
Ingredients
2 lb Flank Steak
4 cloves of garlic – or more if you love garlic as we do
1 tsp cumin powder
1 fresh Jalapeno Pepper deseeded and chopped* see tip below
1/2 c fresh chopped Cilantro or Parsley
2 tbsp The Olive Junction White Garlic Balsamic Vinegar
2 fresh limes juiced – roll on the counter using your palm. Apply pressure to produce more juice inside before juicing
3/4 c The Olive Junction Harvest Garlic Olive Oil
Maldon sea salt flakes to taste – available in store
Freshly Ground Black Pepper to taste
Directions
First, find a dish that will fit your Flank Steak perfectly – not too big or small. You want it to lay flat as it marinades. Combine all your ingredients together (minus steak). Taste for seasoning and add salt and pepper to taste. Remember, flavors get stronger and more intense over time so make sure to add salt accordingly.
Place your Flank Steak in the dish and turn to coat well. Using a spoon, place some of the marinade on top of your steak and spread it around. Cover and refrigerate for a minimum of 2 hours or longer. At the halfway marination mark, remove the steak from the fridge, and turn the steak over in the marinade. Recover and refrigerate until ready to grill or cook in your skillet on the stove.
Remove steak from fridge. Preheat your Bbq or skillet well. Brush with The Olive Junction Harvest Garlic Olive Oil. Remove excess marinade from the steak simply by giving it a light shake. Salt and Pepper on both sides, place directly on the grill and set your timer. Remember, this cut cooks very fast and you really don’t want to overcook it.
Cook for 2 – 3 minutes on each side for medium-rare, only 1-2 minutes more per side for well done.
Place meat on a cutting board, tent with tin foil, and let rest for 5-7 minutes. Thinly cut your Flank Steak across the grain, and gently fan out your slices. Drizzle with our Chimichurri sauce and a sprinkling of Maldon Sea Salt Flakes, and freshly cracked pepper, and enjoy!
*Chili deseeding tip: place chili in between your palms and apply a small amount of pressure, roll the chili gently between them for a few seconds to release the seeds from the pith. Remember to either wear gloves or wash your hands very well after cutting and touching chilis.
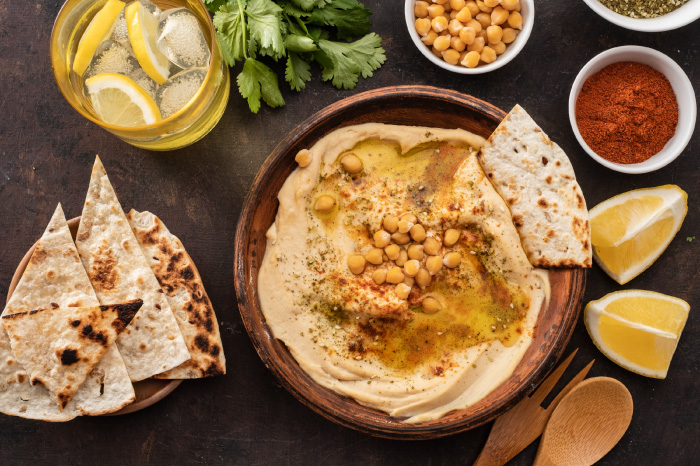
This famous Middle Eastern dip is full of health benefits, easy to make, delicious, and versatile. Made with just a handful of ingredients that you probably already have in your pantry. This thick, creamy, savory, exotic delight may just become your new “go-to” for veggies, pita chips, pretzels, bread sticks, and sandwiches, or try it thinned out with more olive oil for a very healthy swap for salad dressings.
Just a few of the health benefits Hummus has in store:


A bright, light, smooth, refreshing, decadent twist for the non-milk or dark chocolate lovers. This twist on the classic will definitely put a smile on your face, and have you yearning for the long, warm days of summer. The addition of Olive Oil makes this the creamiest Mousse you have ever had. 3 simple ingredients and all the heart healthy properties of Olive Oil – who could say no to that.
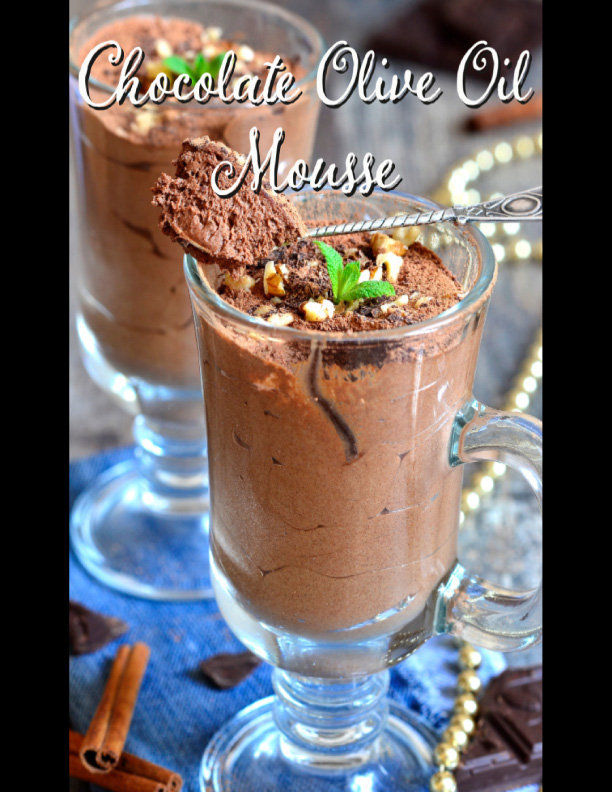

Light, smooth, rich, decadent, and all the heart healthy benefits from not just Olive Oil, but dark Chocolate also! Talk about a win-win. This 3 ingredient, delicious dessert will satisfy even the most die-hard Chocolate lovers – and convert a few too. The addition of Olive Oil makes this the creamiest Mousse you have ever had.
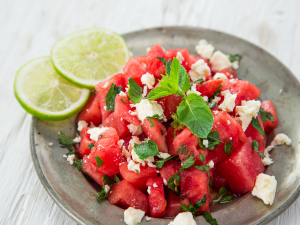
Talk about a refreshing and best of all, easy and impressive salad combination. Simple ingredients come together in minutes, and if you want, get the kids involved using a melon baller! During those hot summer nights, when you’re wanting something delicious, refreshing, and light, this will become your go-to. Plus, friends will be asking you for the recipe and they won’t believe how simple it is.
Ingredients
1/3 c The Olive Junction California Lime Olive Oil
3 tbsp The Olive Junction Lemon Balsamic or lemon juice (freshly squeezed is best)
2 tsp kosher salt
1 tsp Tabasco (optional)
1/2 tsp freshly ground black pepper
1 watermelon – cut into 1 1/2 inch chunks or use a melon baller to scoop out the fruit
1/2 lb crumbled feta cheese (goat feta is milder in flavor but softer in texture)
1 1/4 c pitted and chopped Olives
1 small sweet onion* (see tip below)
1 c fresh mint (not spearmint) or basil leaves coarsely chopped
Directions
To ramp up the refreshing factor for those hot summer nights, try pairing this salad with our Raspberry Rose Cocktail
If you are not a fan of Feta cheese, you can easily swap it for Bocconcini pearls, fresh mozzarella torn into pieces, burrata, or any cheese of your choosing.
Capers would be a nice swap for the Olives. Capers tend to be more on the salty side so you may want to adjust the salt in the dressing. Always taste as you go!
The Olive Junctions White wine vinegar would also be a nice swap for lemon juice or balsamic.
*Onion tip: to remove the sharpness onions can have, once sliced, soak in a bowl of cold water for a minimum of 10 minutes.
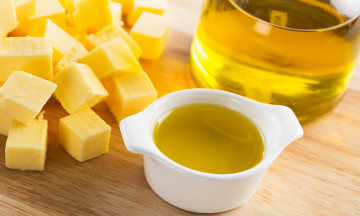
Did you know you can make a heart-healthy, and delicious switch when your recipe calls for butter? Substitute Olive Oil in your recipe with the ratios given below. Adding Olive Oil instead of Butter to your recipe will result in the most delicious and moist baking you’ve ever done. And, if you can honestly not touch your delectable creation for a minimum of 12 hours, you’ll be in for the most incredible, moist, “omg, what have I been missing” confection.
Try our beautiful and mild Arbequina for a delicate touch, or for a little more robustness, our Robust Koroneiki. For an additional pop of flavor to your sweet treats, try either our Meyer Lemon, Lemon Butter, Blood Orange, California Lime, Chocolate, or Butter Olive Oils. For your savory dishes, try either our Harvest Garlic, Lemon Pesto, Lemon Butter, Garlic Butter, Basil, Rosemary, Oregano, or Tuscan Herb Olive Oils. Like a little spice? Try our Citrus Habanero, Thai Chili, Habanero, Jalapeno Garlic, or Garlic Habanero Olive Oils.
1 TEASPOON
1 TABLESPOON
2 TABLESPOONS
1/4 CUP
1/3 CUP
1/2 CUP
2/3 CUP
3/4 CUP
1 CUP
3/4 TEASPOON
2 1/4 TEASPOONS
1 1/2 TABLESPOONS
3 TABLESPOONS
1/4 CUP
1/4 CUP + 2 TABLESPOONS
1/2 CUP
1/2 CUP + 2 TABLESPOONS
3/4 CUP
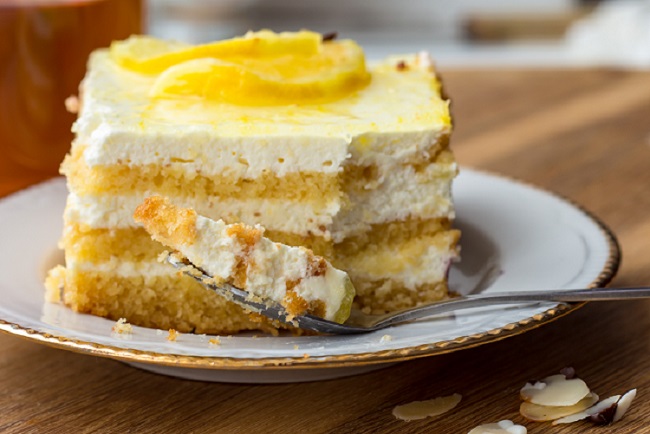
Makes 1 cake 8″ x 8″
FOR THE CAKE:
FOR THE ICING:
To plate and garnish using the remaining 2 tbsp of lemon curd and Dark Raspberry Balsamic, place a thick streak of curd next to the plated cake. Place a few drops of Dark Raspberry Balsamic spaced evenly apart on top of the curd. Take a sharp knife or toothpick and drag it through the middle of the curd and Raspberry Balsamic to create a pattern. Shown in the picture below.


Makes 12 rolls
FOR THE BUNS:
FOR THE FILLING:
FOR THE ICING:
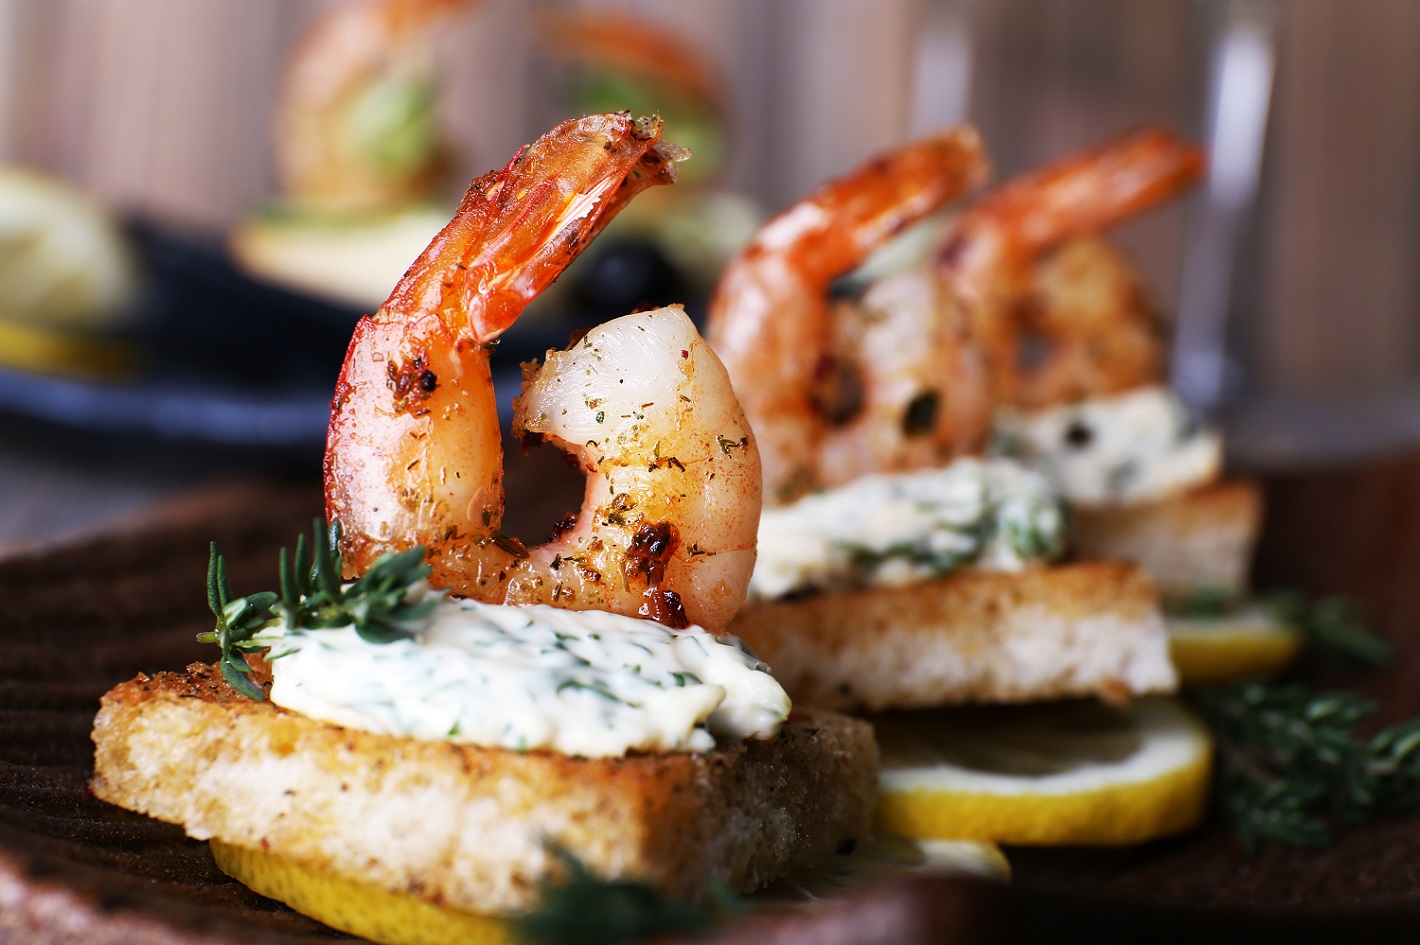
Makes approximately 2 cups
FOR THE CROSTINI’S:
FOR THE DIP:


Topping
Glaze
Preheat oven to 425*F (220*C)
Line 1 or 2 large baking sheets with parchment paper.
Start by combining the milk and lemon juice in a glass measuring cup or bowl. Set aside until ready to use. The mix will thicken and curdle. Creating a buttermilk like consistency.
In a large bowl, combine all of the dried ingredients (flour, sugar, baking powder, baking soda and salt). Mix together.
Add cubed cold butter to dry mix. I prefer to use my hands, but if you’d like, use a pastry cutter. I just find by using my hands to incorporate the butter into the dry mix, I have much better control and can get the mixture much finer. You do not want to have any chunks of butter left over. You want the mixture crumbly.
Pour milk mixture into bowl. Stir with a fork until a soft, sticky dough forms.
Turn out onto a floured surface and, with lightly floured hands, gently knead in blueberries, trying not to crush them. Add small amounts of flour to the surface to prevent dough from sticking to the counter. If dough is sticking to your hands, lightly dust and rub together to remove excess dough. Knead until the blueberries are dispersed throughout the dough.
Shape dough into a circle, flatten to desired thickness (they will rise slightly in the oven) while maintaining the round shape. Cut into pie wedges and place on baking sheets. Space out at least 2 inches between each.
Place in oven on different racks if using 2 trays. Make sure they are staggered in the oven to maximize air flow. Set timer for 7 minutes.
Put milk and sugar topping mix in small bowl and combine.
After first 7 minutes, take out of oven, brush scones with the mixture. If using 1 tray, rotate tray when putting back in. If using 2 trays, swap top tray to bottom and rotate and bottom tray to top and rotate.
Set timer for 7 minutes. Once ready, they will be nice and golden on top! If they are not quite ready yet, set timer for 2 minutes more and then check. Do not bake for longer than 20 minutes (ovens vary).
Set trays on cooling racks for 10 minutes.
Once cooled. Remove scones from trays and place on wire racks with parchment paper underneath.
Combine all ingredients above for the glaze. Mix well. You will want it to be slightly runny. Using spoon, drizzle glaze over scones to your liking. Allow glaze to set. Store in an airtight container or bag.
Serve slightly warmed up (we find 20 seconds is perfect) in the microwave with a nice cuppa tea or freshly brewed coffee and enjoy!
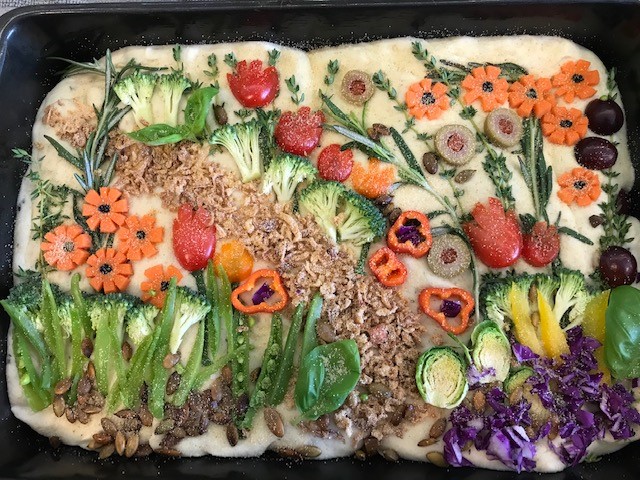
Topping
Instructions
Bake at 425ºF for 25 – 30 minutes.
Let bread cool for at least 20 minutes. Cut into generous pieces and use this dip to dip the bread.
Dip


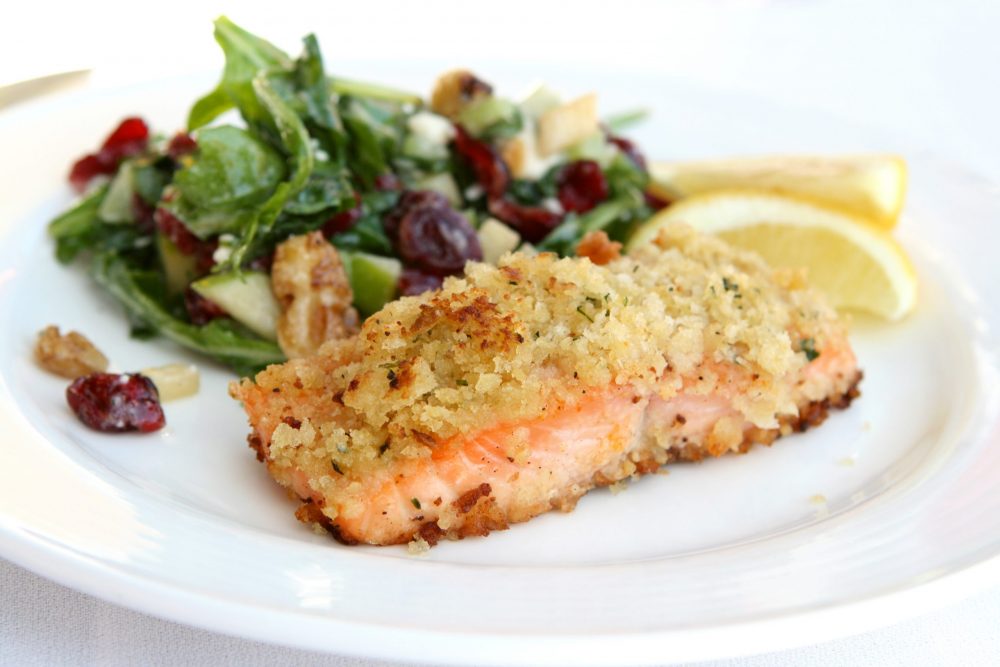
The Olive Junctions Fig Balsamic for your finishing drizzle!
Thank you to Evelyn Zimmer for this recipe