Posted on Leave a comment

Cast Iron Pizza & Dough recipe

Homemade pizza in less than 2 hours from start to finish? Absolutely. This dough recipe is fool-proof and results in the most delicious, fluffy, soft, and reminiscent of the old Pizza Hut pizza days vibe.

Make pizza night a family affair and enjoy your home-baked cast iron pizza (it can be cooked on a pizza stone or in any other oven-proof dish if you don’t have a cast iron pan), while saving you some money. Plus, the intoxicating smell of pizza baking in your oven is just as good as a freshly baked loaf of bread!

DOUGH

INSTRUCTIONS

  • In your stand mixer, put water, yeast, sugar or honey, 1 cup of flour, and milk into the bowl
  • Give the mix a quick whisk to incorporate all the ingredients
  • Set aside and allow the yeast to activate for 10 minutes
  • Add the yogurt, Extra Virgin Olive oil, and then the remaining flour, and then the salt – salt kills yeast so make sure it is the last ingredient that gets added to the bowl
  • With the dough hook attachment on your mixer, mix the dough on low for 2 to 3 minutes
  • While the dough is mixing, take a large bowl and add about a tablespoon of oil to the bowl. This bowl will house the dough when it’s rising
  • Once the dough is thoroughly mixed, use either a dough scraper, stiff spatula, or an oiled hand, and move the dough to your oiled bowl – this dough can get very, very sticky and that’s ok. I’ve had this dough come out super sticky and well incorporated and either way, I’ve never had an issue with it (foolproof!)
  • Cover the bowl with plastic wrap and place in a warm area to proof until it’s doubled in size
  • Remove dough once it’s proofed onto a well-floured surface
  • Sprinkle flour on the top of the dough to reduce the tacky/stickiness
  • Form your dough enough so that you can easily divide it into however many portions you need
  • Once you have your dough portioned out, in a well-oiled cast iron pan or whatever dish you are using, place the dough inside and shape
  • Preheat your oven with the rack in the middle position to 400-425 degrees
  • You are now ready to start adding your toppings
  • Once your pizza is ready to be baked, place it in the oven for between 10-15 minutes or until the top is nicely browned, the edges are cooked and the underside is nice and golden (everybody’s oven is different and times will vary). If the top is cooked but the underside is still a few minutes away, you can do 1 of 2 things: either cover the top with loose foil so that it doesn’t burn, or remove the cast iron pan from the oven, place it on the stovetop, turn it on, and continue cooking the crust until your desired doneness is reached.
  • With a pizza cutter, cut the pizza into slices and serve – be careful, it will be very hot
  • ENJOY!!!

TIPS

  • If your dough is extra sticky and well, sticking to everything including your fingers, rub them with flour – this will remove the excess dough from your hands and will also work with any of your kitchen equipment that has dough stuck to it, such as the dough hook and bowl
  • Do not let the leftover wet bits of dough go down the kitchen drain – it will not break down and will gum up your pipes. Put any bits of dough in the garbage.
  • Try swapping out the salt and Olive oil for flavored salts and oils. I’ve made dough with The Salt Cellar Mais Oui blend and The Olive Junction Tuscan Herb Olive oil and wow, what a huge difference a small change makes.
  • Don’t have tomato sauce? Don’t worry. Our absolute favorite sauce to use on pizza is Salsa Verde. You could use a Butter Chicken sauce, regular Salsa, Bbq sauce, Alfredo sauce, or whatever – don’t be afraid to experiment!
  • If using vegetables as your toppings that naturally contain a lot of water, such as mushrooms, tomatoes, zucchini, etc, try adding them on the top layer, not as the first layer. This will allow the heat to help some of that water evaporate so your pizza won’t get soggy. Also, try sauteing your mushrooms before adding them. That little bit of caramelization adds to the flavor!
  • Try using different cheeses, not just Mozerella. Goat feta melts better than Cow feta and isn’t as sharp. Monterey cheese has an amazing melt to it. Even Brie and Camembert cheese are delightful on a pizza and melt very well (these both pair well with fresh figs and then finish with arugula once pulled from the oven).
  • Have fun and even make it a family affair. This dough can be portioned into individual pizzas and everyone can then choose their own toppings
  • If you are adding meats to your pizza such as chicken, beef, pork, etc, make sure they are all pre-cooked
  • Sliced deli meats are a great option – pepperoni, salami, and ham, are all great options
Posted on Leave a comment

Chimichurri sauce

Chimichurri sauce

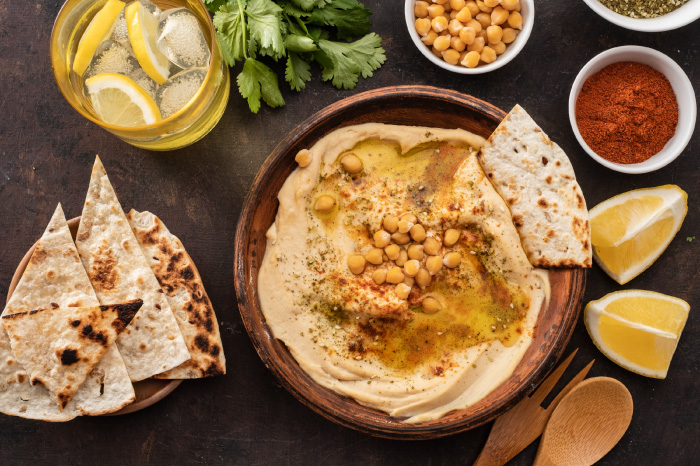
If you haven’t tried this incredibly easy, yet super versatile and delicious sauce – what are you waiting for?! With a handful of fresh ingredients, a food processor that does all the work for you, and a flavor profile that takes your dishes to a whole new level, you’ll be making this on the regular.

And, it’s healthy for you too. It’s keto-friendly, gluten-free, paleo, whole 30, dairy free, full of antioxidants, vitamins A & C, calcium, iron, heart-healthy garlic, and the good fats (monounsaturated) found in olive oil, along with the polyphenols, anti-inflammatory benefits, and so much more.

Ingredients

1 c roughly chopped parsley

8 cloves of roughly chopped garlic – or more if you love garlic, just not less

2 shallots roughly chopped

2 tsp of dried oregano

2 small red chili peppers roughly chopped (deseed if you don’t want too much to heat)* see tip below

6 tbsp The Olive Junction Red Wine Vinegar

2 tsp salt

1 tsp freshly ground black pepper

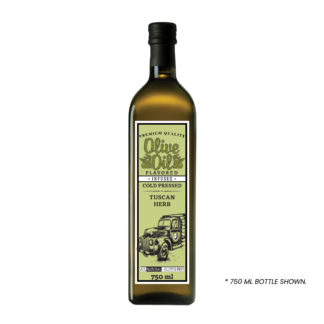
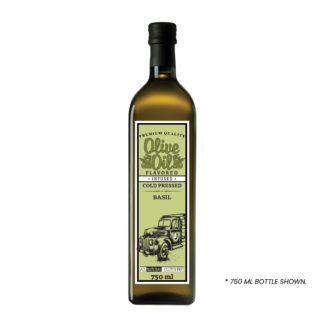
1 1/3 c The Olive Junction Arbequina Extra Virgin Olive oil

Directions

Add everything except the olive oil to your food processor or blender. Pulse until all ingredients are finely minced. You don’t want to take this so far that it turns into a paste, which will happen if you over-process it.

Transfer minced ingredients to a bowl and add our Arbequina Extra Virgin Olive oil. Mix together gently to combine all ingredients.

Let sit, covered, for at least 30 mins so the ingredients have time to mingle and get to know one another.

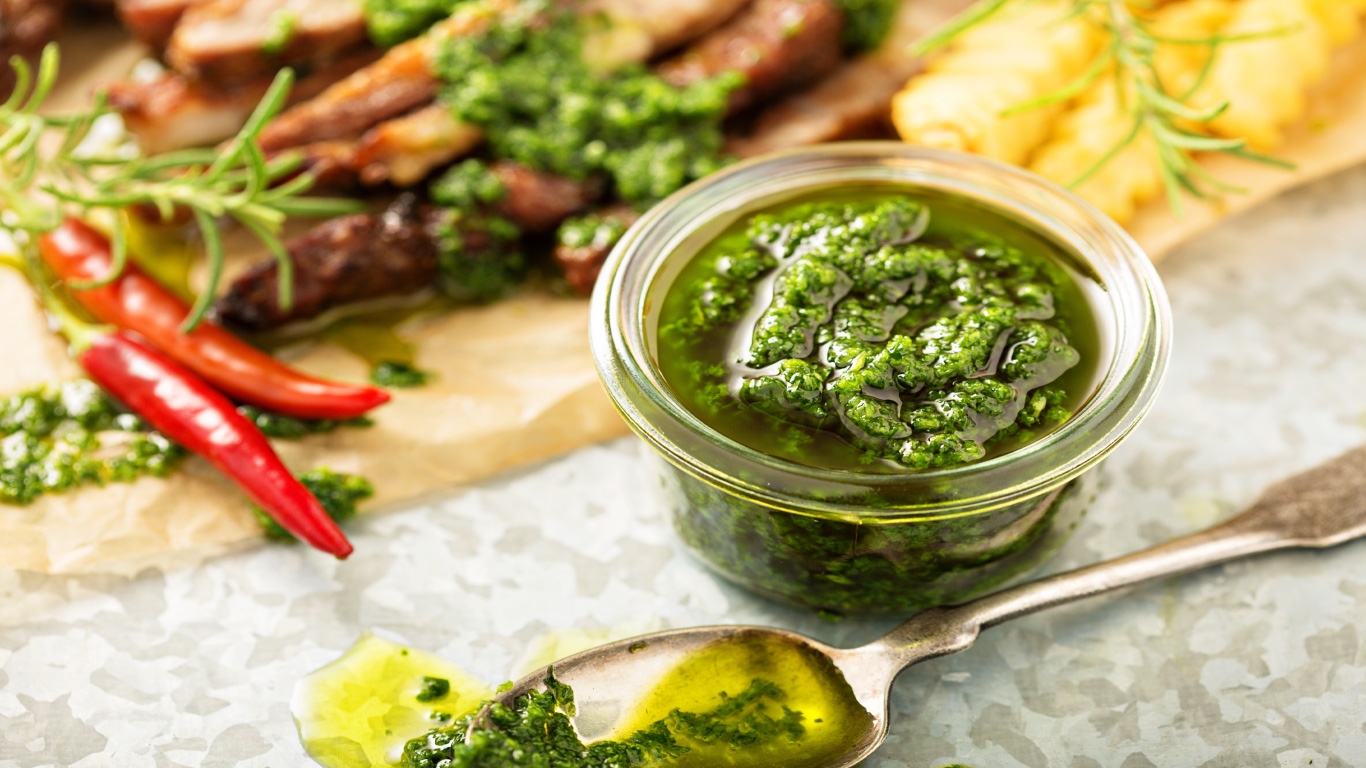
Pairs very well with our Garlic Flank Steak recipe

*Chili deseeding tip: place chili in between your palms and apply a small amount of pressure, roll the chili gently between them for a few seconds to release the seeds from the pith. Remember to either wear gloves or wash your hands very well after cutting and touching chilis.

Posted on Leave a comment

Hummus Dip

This famous Middle Eastern dip is full of health benefits, easy to make, delicious, and versatile. Made with just a handful of ingredients that you probably already have in your pantry. This thick, creamy, savory, exotic delight may just become your new “go-to” for veggies, pita chips, pretzels, bread sticks, and sandwiches, or try it thinned out with more olive oil for a very healthy swap for salad dressings.

Just a few of the health benefits Hummus has in store:

  1. Packed with plant-based protein
  2. Helps lower cholesterol when eaten in moderation
  3. Alleviates Anemia thanks to the high Iron content in the chickpeas
  4. Balances your blood sugar levels due to the presence of omega-6 fatty acids
  5. Full of key vitamins such as calcium, iron, folate, zinc, and B vitamins
  6. Tahini contains vitamin E
  7. Full of fiber – because, well, beans 😉
  8. Helps reduce inflammation – thank you sesame seeds (tahini)

Ingredients

  • 1/4 cup freshly squeezed lemon juice
  • 1 clove of garlic (or more – your preference)
  • 1/2 tsp ground cumin
  • dash of ground paprika, red pepper flakes, parsley, toasted sesame seeds
  • additional olive oil for serving

Directions

  • In either a food processor or blender, combine the tahini and lemon juice. Process for 1 minute, scrape down the sides, turn on again, and process for 30 seconds – 1 minute longer (this will help make the hummus become extra creamy)
  • Add in your 2 tbsps of oil of your choosing, garlic, cumin, and salt
  • Process for 30 seconds, turn off, scrape down sides, turn on again, and process for up to 1 minute
  • Drain and rinse chickpeas under water well with a strainer
  • Add 1/2 of the chickpeas and process for 1 minute, scrape down sides and bottom if possible
  • Add remaining chickpeas and process for 2 minutes or longer until thick and smooth, stopping to scrape down the sides as needed
  • Hummus will be pretty thick at this point, add 1 tbsp of water at a time until desired consistency is reached
  • Place Hummus onto a plate or serving dish, finish off with a drizzle of oil and a sprinkling of your herb or choice
  • Serve with warmed pita chips, fresh veggies, and pretzels, or use in a sandwich as a spread
Posted on Leave a comment

Meyer Lemon Crostini with Shrimp Dip by Corry Clancy

Makes approximately 2 cups

Ingredients

FOR THE CROSTINI’S:

  • 1 Baguette sliced into 1/4 inch slices on a slight angle
  • 1/2 cup of The Olive Junction’s Meyer Lemon Olive Oil
  • 3 tbsp of The Olive Junction’s Arbequina EVOO
  • 2 large cloves of garlic minced or 1 tbsp of roasted garlic (to roast garlic, cut top off, drizzle with T.O.J. Arbequina EVOO cover with tin foil and bake at 400* for 30-40 mins or until golden brown)
  • 2 tbsp of fresh lemon juice
  • 1 1/2 tsp of grated lemon zest
  • 2 tbsp of finely chopped fresh dill – if using dried start with slightly less
  • Cape Herb & Spice Pink Himilayan salt – to taste
  • Cape Herb & Spice Extra Bold Peppercorns – to taste

Instructions

  1. Preheat oven to 400 degrees
  2. After slicing the baguette, put aside
  3. Add remaining ingredients to a large bowl and whisk together vigorously
  4. Add the baguette slices to the bowl and stir/toss until all the pieces are coated
  5. Lay coated baguette slices on a parchment-lined baking sheet – make sure they don’t overlap and leave enough space between slices to allow for air circulation (use 2 trays if needed)
  6. Bake on the middle rack for 10 minutes, flip and bake for another 8 – 10 minutes until nice and golden brown
  7. Once cooled, serve on a platter with your shrimp dip
  8. Leftover crostini’s can be stored in an airtight Ziplock or container for up to 1 week – that’s if they last!

Ingredients

FOR THE DIP:

  • 1 lb cooked, peeled shrimp, washed and drained (shrimp is added last)
  • 1 cup of regular cream cheese softened – remove from fridge 1/2 before using
  • ½ cup of regular mayonnaise
  • 2 tbsp of cocktail sauce
  • 2 tbsp of fresh lemon juice
  • 1/2 tsp of finely grated lemon zest
  • 1 tsp of horseradish
  • 1 tbsp of fresh finely chopped dill – if using dried, start with slightly less
  • few dashes of Worcestershire sauce

Instructions

  1. In a food processor with a regular blade, add the cream cheese and mayo. Blend till smooth
  2. Add the remaining ingredients and pulse a few times to mix
  3. Add shrimp and pulse until shrimp is cut up into bits. Take care to not over blend
  4. Taste. Adjust if needed – more dill, more cocktail sauce, more S&P
  5. If desired, keep a few extra shrimp to the side to garnish along with thin slices of lemon wedges and fresh dill.
  6. Serve chilled and use within 24 hours

Related Products

Posted on Leave a comment

Meyer Lemon Pesto

Serve with pasta
Makes 4 Servings

Ingredients

  • 1 cup loosely packed baby spinach leaves
  • 2 cups firmly packed fresh basil leaves
  • ½ teaspoon SaltWest Raincoast salt
  • ½ cup chopped walnuts
  • 1 tablespoon lemon zest
  • 4 ounces of shredded Grana Padano cheese
  • 6 cloves of garlic
  • 2 tablespoons of The Olive Junction’s Meyer Lemon EVOO
  • ¼ cup lemon juice
  • 1 ( 340g) package of spaghetti or rotini

Instructions

  1. In a food processor; combine spinach, basil, salt, walnuts, cheese, garlic, lemon juice & lemon zest.
  2. Pulse to incorporate ingredients for 30 seconds, using a spatula to scrape down the sides of the bowl.
  3. On high, drizzle olive oil into the mixture until fully incorporated ( 20 additional seconds)
  4. Bring 4 litres of salted water to a boil, add pasta and cook uncovered for 8-10 minutes, drain & serve.
  5. In a mixing bowl combine pesto sauce & pasta, lightly toss.

Related Products